Getting Started
Installing marimo gets you the marimo command-line interface (CLI), the entry point to all things marimo.
Install marimo
Before installing marimo, we recommend creating and activating a Python virtual environment.
Setting up a virtual environment
Python uses virtual environments to minimize conflicts among packages.
Here’s a quickstart for pip users. If you use conda, please use a conda
environment
instead.
Run the following in the terminal:
create an environment with
python -m venv marimo-envactivate the environment:
macOS/Unix:
source marimo-env/bin/activateWindows:
marimo-env\Scripts\activate
Make sure the environment is activated before installing marimo and when
using marimo. Install other packages you may need, such as numpy, pandas, matplotlib,
and altair, in this environment. When you’re done, deactivate the environment
with deactivate in the terimnal.
Learn more from the official Python tutorial.
Using uv?
uv is a next-generation Python package
installer and manager that is 10-100x faster than pip, and also makes it easy
to install Python and manage projects. With uv, creating a virtual
environment is as easy as uv venv.
To install marimo, run the following in a terminal:
pip install marimo
uv pip install marimo
conda install -c conda-forge marimo
To check if the install worked, run
marimo tutorial intro
A tutorial notebook should open in your browser.
Installation issues?
Having installation issues? Reach out to us at GitHub or on Discord.
Run tutorials
marimo tutorial intro opens the intro tutorial. List all tutorials with
marimo tutorial --help
Edit notebooks
Create and edit notebooks with marimo edit.
launch the notebook server to create new notebooks, and start or stop existing ones:
marimo edit
create or edit a single notebook with
marimo edit your_notebook.py
(If your_notebook.py doesn’t exist, marimo will create a blank notebook
named your_notebook.py.)
Deploy as apps
Use marimo run to serve your notebook as an app, with Python code hidden and
uneditable.
marimo run your_notebook.py
Convert from Jupyter to marimo
Automatically convert Jupyter notebooks to marimo notebooks with marimo convert:
marimo convert your_notebook.ipynb -o your_notebook.py
Then open the notebook with marimo edit your_notebook.py
Disable autorun on startup
marimo automatically runs notebooks when they are opened. If this is a problem for you (not all Jupyter notebooks are designed to be run on startup), you can disable autorun on startup via user configuration.
Type
marimo config showto get the location of your config file.If no config file exists, create it at
~/.marimo.tomlor$XDG_CONFIG_HOME/marimo/marimo.toml.Update your config to include the following:
[runtime]
auto_instantiate = false
Install optional dependencies for more features
Some features require additional dependencies, which are not installed by default. This includes:
Charts in the datasource viewer
Format on save
To install the optional dependencies, run:
pip install "marimo[recommended]"
uv pip install "marimo[recommended]"
conda install -c conda-forge marimo duckdb altair polars openai ruff
This will install: duckdb, altair, polars, openai, and ruff.
Enable GitHub Copilot and AI Assistant
The marimo editor natively supports GitHub Copilot, an AI pair programmer, similar to VS Code.
Get started with Copilot:
Install Node.js.
Enable Copilot via the settings menu in the marimo editor.
Note: Copilot is not yet available in our conda distribution; please install
marimo from PyPI if you need Copilot.
marimo also comes with support for other copilots, and a built-in AI assistant that helps you write code.
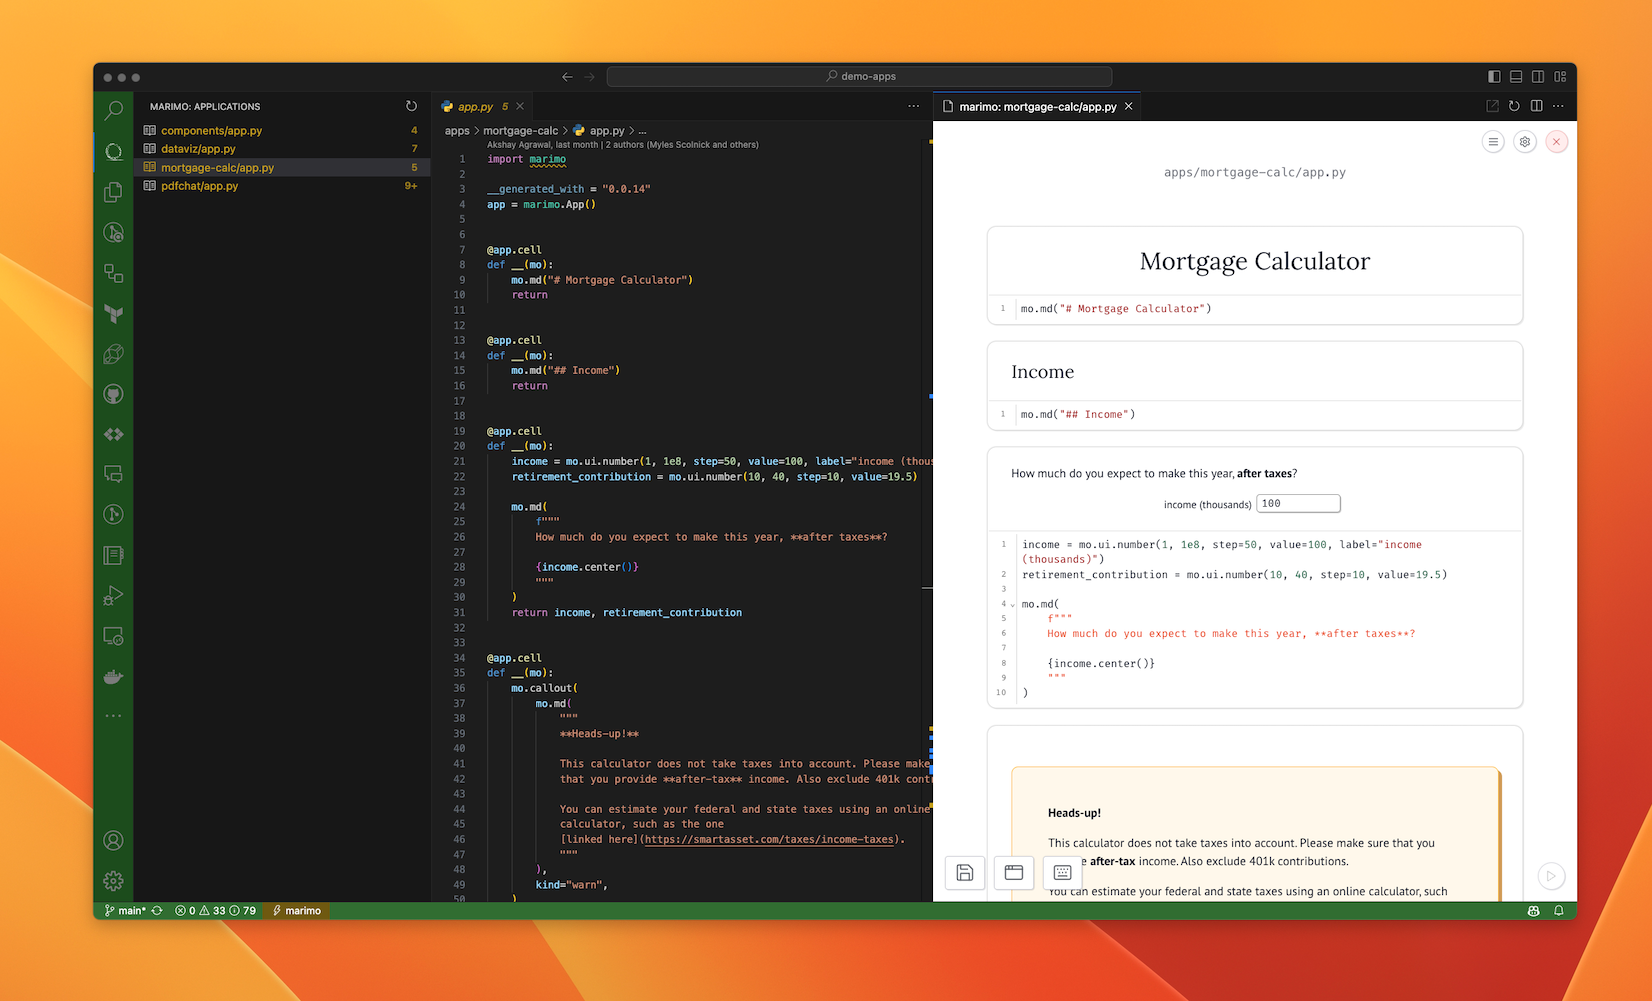
Try our VS Code extension
The best way to use marimo is through the CLI. However, if you prefer VS Code over terminal, try our VS Code extension. Use this extension to edit and run notebooks directly from VS Code, and to list all marimo notebooks in your current directory.
